LED Corner Lamp
A standing corner lamp using NEOPIXEL LEDs.
Intro
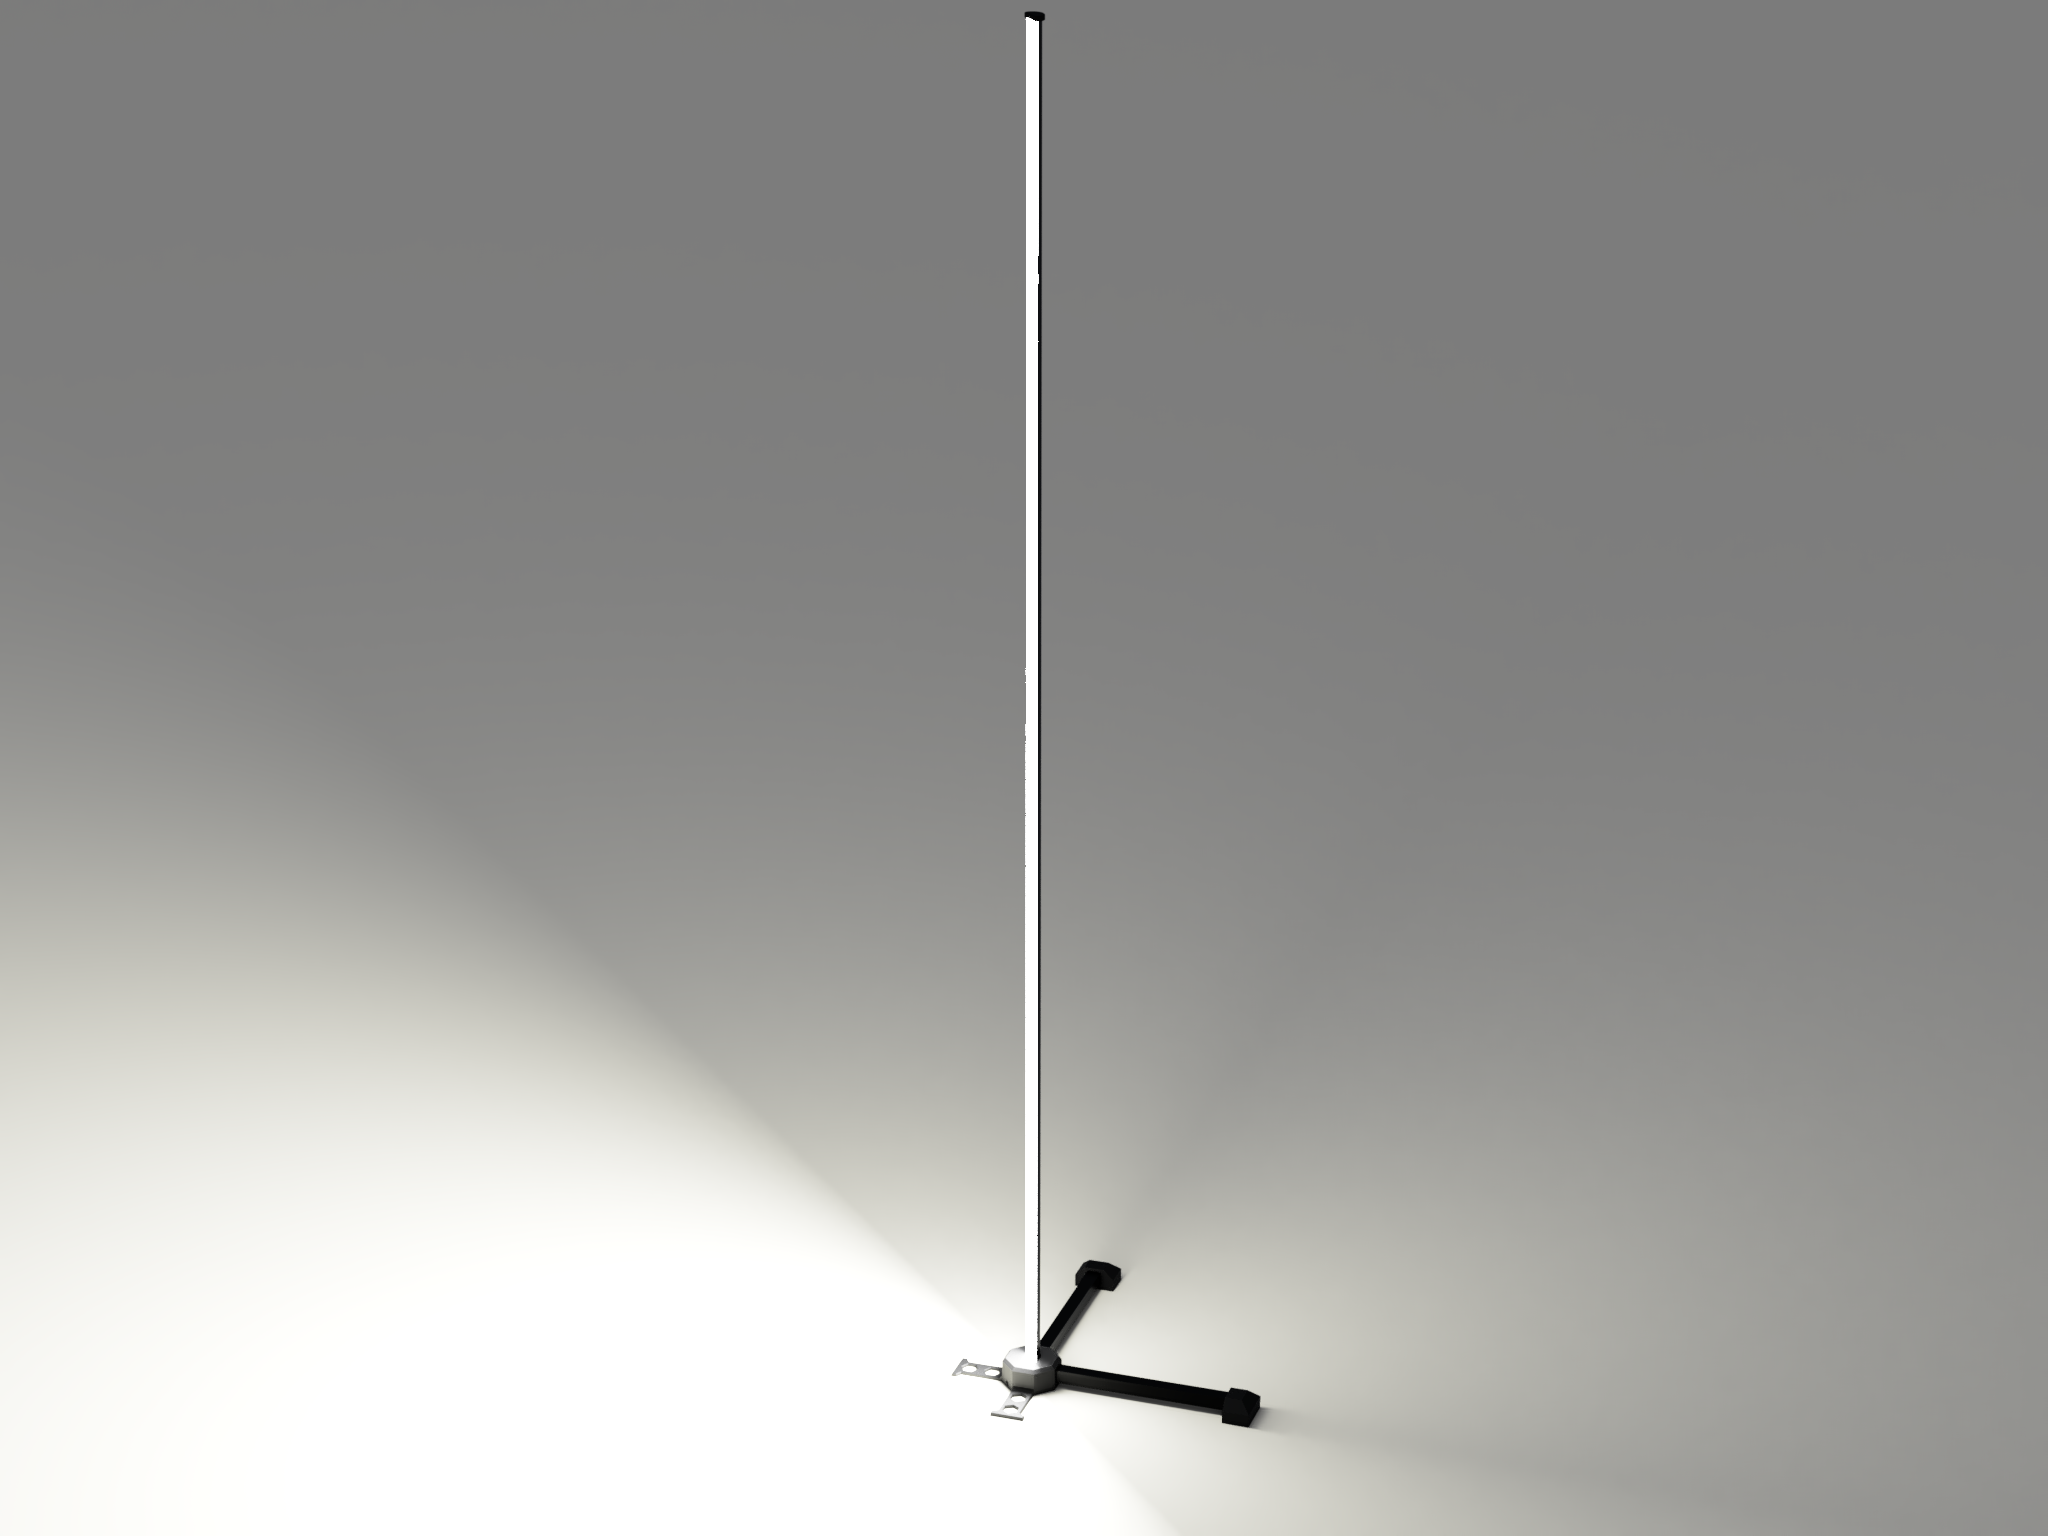
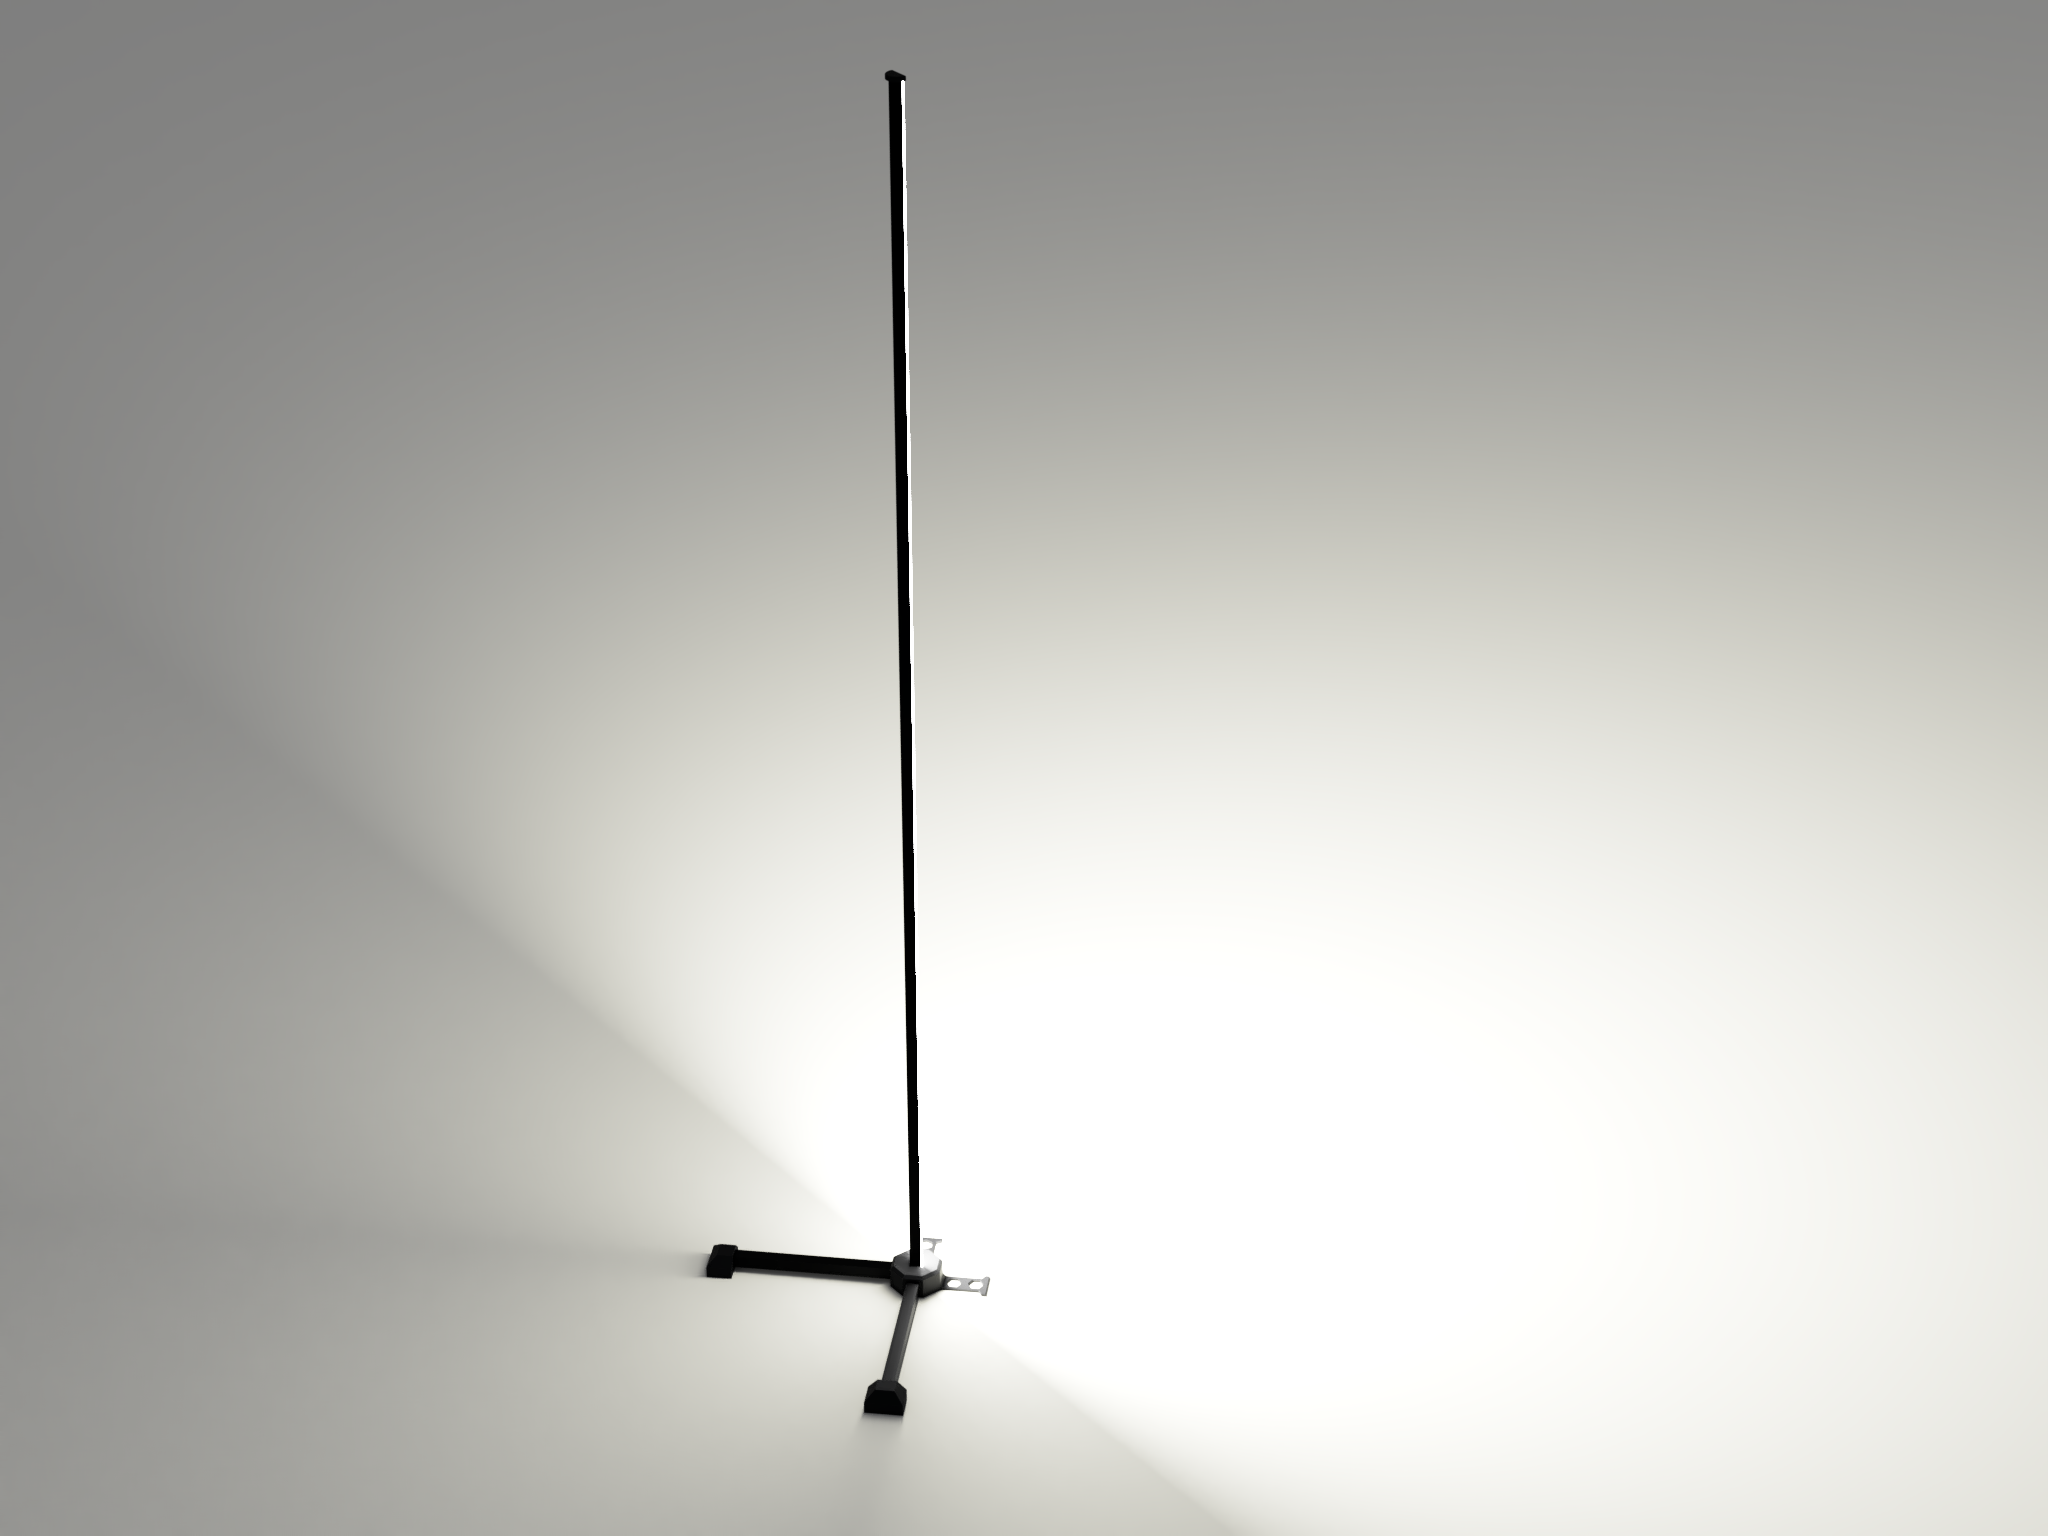
To spice up a bleak living room corner, I decided to create a vertical LED lamp, using Neopixel LEDs. The light element as well as parts of the feet are aluminium extrusions, while the connecting pieces are 3D-printed in PLA.
Dimensions
The vertical light element is 200cm tall, fitting into the living room corner. The aluminium feet are approximately 50cm in lenght, giving a solid foundation. The lamp itself has (optional) spacers, to keep it at a distance of about 10cm from the wall for a nice effect with indirect lighting.
Part List
I wanted to keep this project as simple and cheap as possible. Therefore the goal was to keep the part count as low as possible. I bought the following parts:
- 2 Meters of Aluminium Delta-Profile Section with Diffusor (Dimensions: 20mm x 20mm x 2000mm)
- 1 Meter of Aluiminium U-Profile Section (Cut into two pieces: 20mm x 20mm x 500mm)
- 2 Meters of WS2812B LED Strip (these are off-brand NEOPIXELs with 60LEDs/m)
- Arduino Nano 33 IoT
- Generic 5V/3A Wall Plug Power Supply
- 3x Threaded inserts and 12mm M4 bolts
- 200g of matt black PLA
- One can of aluminium primer
- One can of matt black paint
- Some pieces of cable
3D CAD Files
There are two types of parts available as download, normal files and pre-sliced ones for Prusa Slicer, which contain suggested print settings for printing on a Prusa i3 MK3S with PLA.
All the parts should be printed in the provided orientation!
Required Quantites:
- 1x Body Base (Choose between No Spacer, Spacer Design 1 or Spacer Design 2).
- 1x Body Lid (Choose between the No Hole or 12mm Hole version)
- 1x End Cap
- 2x Leg End
- 5x LED-Carrier (if available print in white)
Suggested print settings:
- 15-20% Infill
- No Supports
- Printed in the provided orientation
Programming
After assembling the LED Corner Lamp, it is ready to be programmed. First of all, I added the Arduino OTA Library (Over-The-Air Library) to the code, to allow it to be programmed remotely. I also made sure that the Arduino Nano 33 IoT automatically connects to my home WiFi. After doing all that, I do not have to access the physical USB port on the wall lamp anymore, to upload an Arduino Sketch.
To drive the NEOPIXELS I use the FastLED Library. The Adafruit NEOPIXEL Library also works well, however the FastLED Library has some additional features that I found very handy (for example, to manage the maximum power draw).
More details on programming, as well as the source code will follow at a later date, once the software is completed. Thank you for your patience!
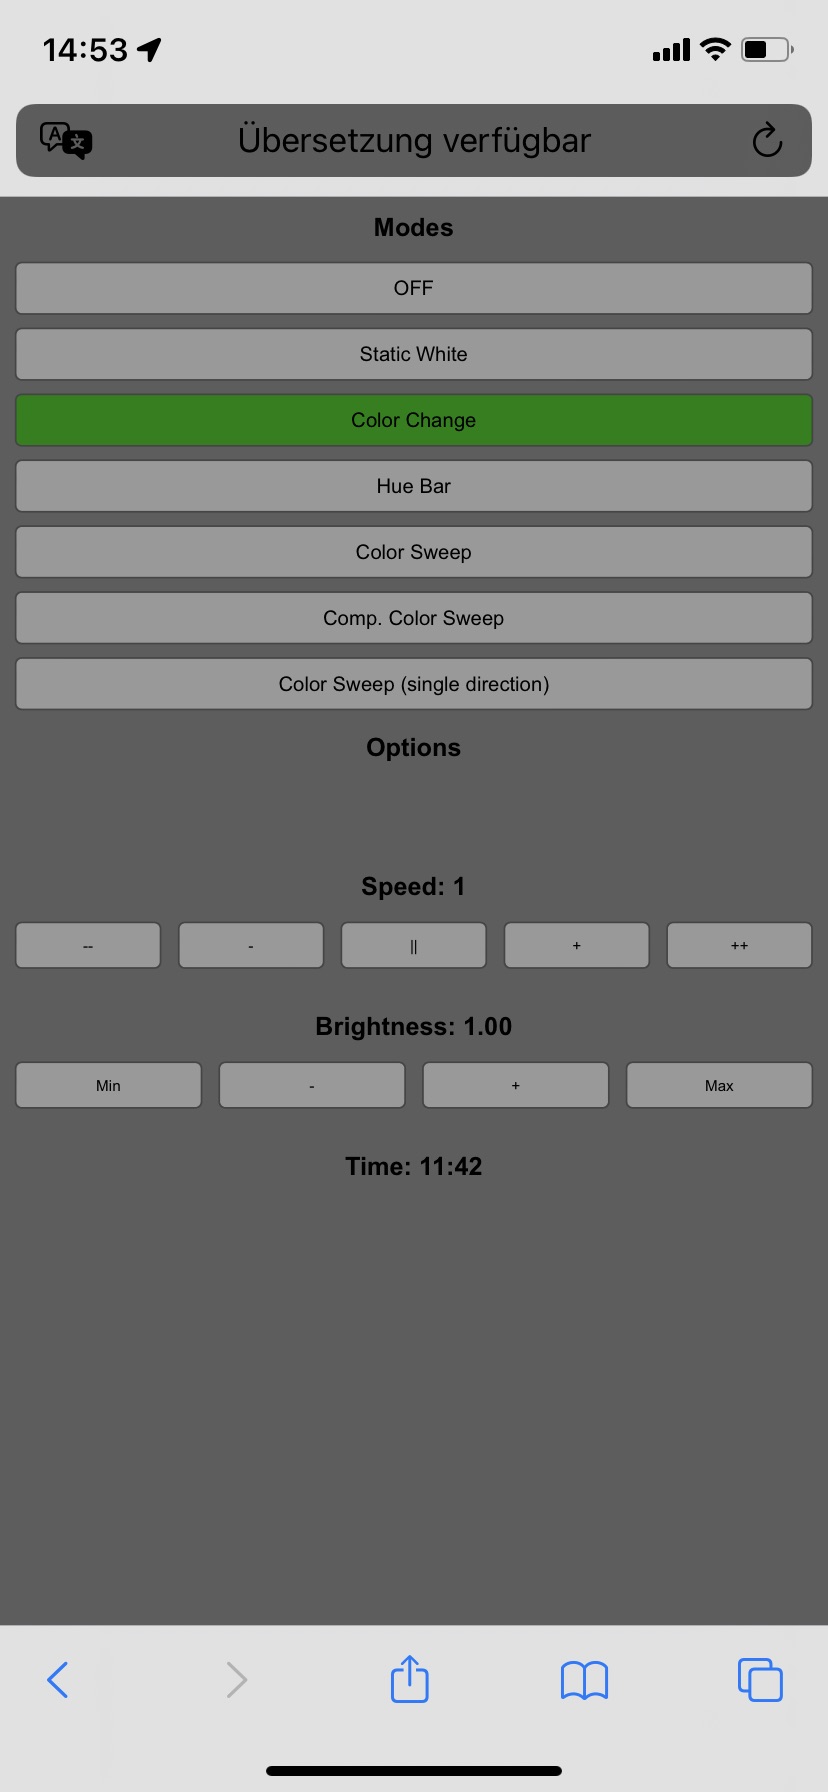
Control
The corner lamp can be controlled from the local (WiFi) network using a web-browser. By navigating to the Arduinos IP-Address, an interface is provided to switch between the different light modes. Depending on the selected mode, different Options can be enabled/disabled, like color-fading, changes to random color generation,…