PlaneTrackr – Help – CLI
A free software simulating an ATC Radarscreen using ADSB Data.
General
The command-line interface (CLI) allows manipulation of targets and data blocks without the use of the mouse. It can be opened in Windows > Command-line Interface > Toggle Command-line Interface.
Using the TAB-Key, the CLI can be acitvated (or de-activated) for text input.
Commands are executed by pressing the ENTER-key. Holding down SHIFT while pressing the ENTER-key keeps the target callsign in the CLI, so a further command can be input without having to re-type the callsign.
The UP- and DOWN-Arrow keys can be used to navigate through the 10 latest commands. Holding down SHIFT will only navigate through the ID of the last 10 commands.
The “AUTO” button to the left of the CLI allows automatic input of the target callsign into the CLI by moving the mouse cursor over a target.
Commands
Commands contain of several elements, seperated by the “Space”-character (” “). See examples further below.
The symbol | indicates that several different options are available. Only one option must be entered.
The brackets [ ] must not be entered.
Available Commands:
| ELEMENT 0 | ELEMENT 1 | ELEMENT 2 | DESCRIPTION |
| [ID] | [M | MARK] | – | Toggles the target highlight, like clicking on it. |
| [ID] | [REMOVE] | – | Sets the Target Filter Level “00 – Hide” |
| [ID] | [H | HIDE] | – | Sets the Target Filter Level “01 – Target only” |
| [ID] | [D | DROP] | – | Sets the Target Filter Level “02 – Callsign only” |
| [ID] | [S | SHOW] | – | Sets the Target Filter Level “06 – Show All” |
| [ID] | [LVL | LEVEL] | [x] | Sets the Target Filter Level to x. |
| [ID] | [R | RESET] | – | Reset manual filter Level and use automatic filter level assignment. |
| [ID] | [J] | – | Toggle J-bubble. |
| [ID] | [J] | [x] | Sets J-bubble to x distance (in NM). |
| [ID] | [P | POS] | [L | TL | T | TR | R | BR | B | BL | LEFT | TOP | RIGHT | BOT] | Moves the Data Block to the desired position in relation to the target. |
| [ID] | [x/y] | – | Sets the Data Block to the position x and the leader line lenght of y (0-3). See explenation. |
| [ID] | [C | SLANT] | – | Toggle between leader line lenght 1 and 0. |
| [ID] | [DES | DEST] | [xxxx] | Sets the target destination ICAO code to xxxx. |
| [ID] | [DEP] | [xxxx] | Sets the target departure ICAO code to xxxx. |
| [ID] | [N | NOTE] | [xxxxx] | Sets target’s custom note to xxxxx. |
| [ID] | [N | NOTE] | [CLR | CLEAR] | Removes the target’s custom note. |
| [ID] | [x | ys] | – | Set target Lead Lenghts to x minutes or y seconds. (min. 0; max. 10 min or 600 seconds) |
| [LL] | [x | ys] | – | Set all Lead Lenghts to x minutes or y seconds. (min. 0; max. 10 min or 600 seconds) |
| [LL] | [R | RESET] | – | Reset all Lead Lenghts to time selected in Display Options. |
| [RESTORE] | – | – | Returns all targets that have been REMOVE’d. |
| [WX] | [xxxx] | – | Shows the METAR/TAF for the ICAO code xxxx. |
| [R] | [+] or [-] | – | Increase or decrease display zoom. |
| [R+] or [R-] | – | – | Increase or decrease display zoom. |
| [HOME] | – | – | Moves the radar picture to the home position. |
Description of [ID]:
The [ID] variable is the target identifier. PlaneTrackr supports 3 different types of target identifiers. All 3 target identifiers can be used interchangably.
- Target Callsign – Entered as is.
- Computer ID – Entered as 1-3 digit number (leading # optional).
- Squawk – Entered as 4 digit number.
If a target identifier is entered that is not unique (for example squawk 1000), a [TOO MANY] message will show and the command will not be executed.
Description of Computer ID:
The Computer ID (short CID) is a 3 digit number, ranging from 1 to 999. It is automatically assigned by PlanTrackr.
By default it is displayed at the bottom row of the Data Block when the Command-Line Interface is enabled. It is prefixed by a # (not for Normal Symbol Style 3). This behaviour can be toggled in Options > Digital Radar > Show Comp. ID for all.
Command Results:
After a command was run, the result will be shown for 1.5 seconds to the right of the command-line interface.
| Result | Description |
| [CMD OK] | Command was executed successfully. |
| [NO MATCH] | No Target was found with the specified ID. |
| [FORMAT] | The command format was not correct. |
| [TOO MANY] | More than one target has the same ID. |
| [READY] | CLI is ready for the next command. |
Label Positions with “Dash Code”
The “Dash Code” allows a user to quickly set Data Block position and leader line lenght from the numpad, by using the following format:
[ID] [x/y] – where x is the position and y is the leader line lenght.
The target is assumed to be at the position of the “5” and the Data Block position is according to the keys surrounding the “5”:
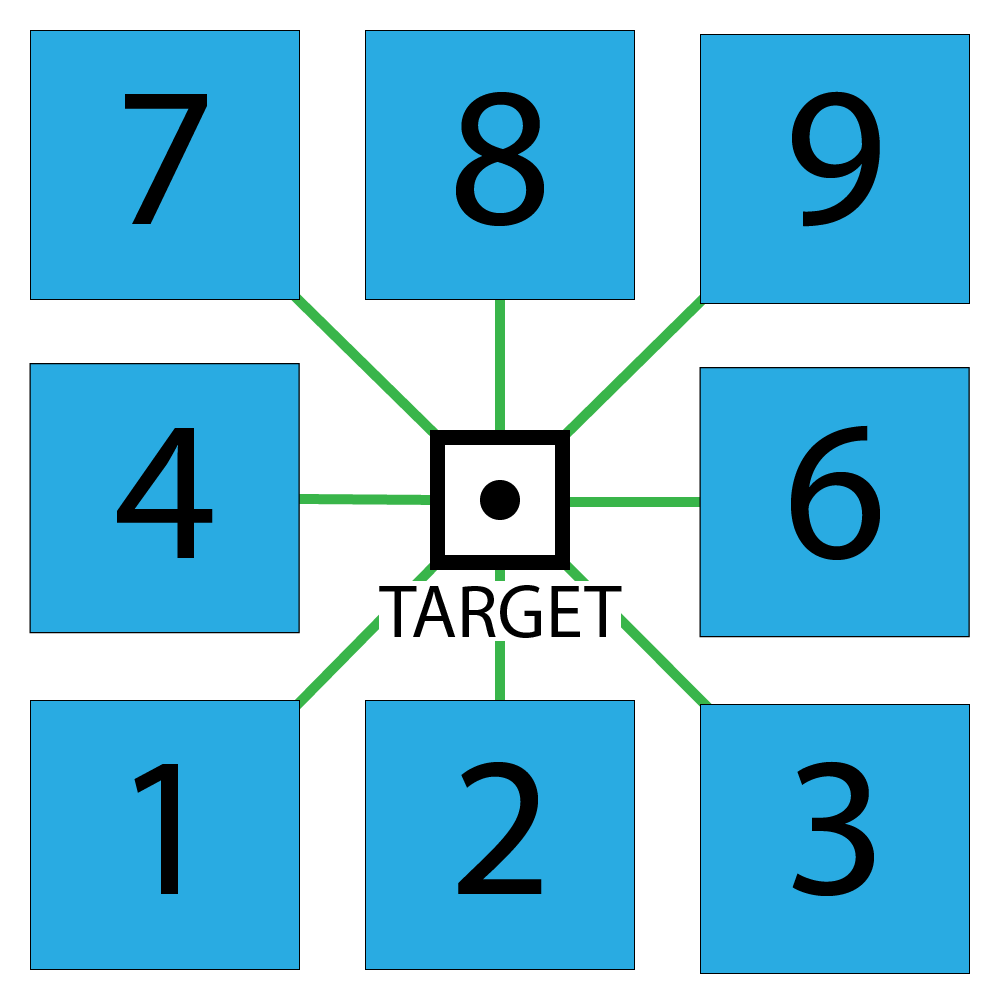
The leader line lenght can be set from 0 (no leader line) to 3 (3x the default leader line).
Many thanks to Dave M. who suggested this design.
Examples
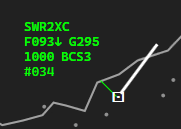
- Marking a target:
SWR2XC MARK
Callsign
3056 M
Squawk
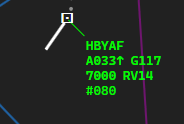
80 M
Computer ID
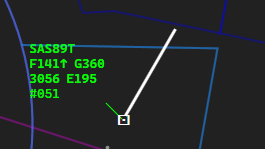
- Modifying Data Block:
073 2/3
Data Block Position 2, Leader lenght 3
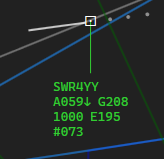
SWR4YY POS TL
Data Block Position Top Left

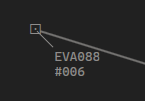
EVA088 DROP
Set Filter Level 2 (Callsign only).
- Weather
WX LSZH